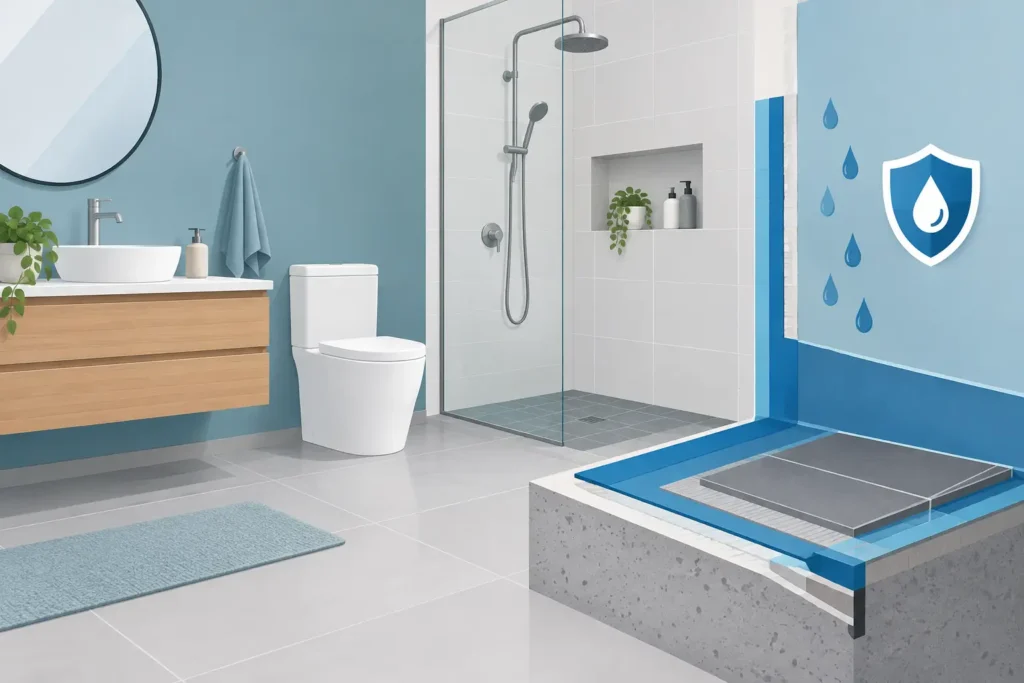
A beautiful bathroom can be let down by something nobody sees: water finding its way behind a shower wall, beneath a tray or into a timber floor. This guide to bathroom waterproofing explains what should sit behind the finished surfaces, why tiles and grout are not the full answer, and how careful planning protects your investment for years to come.
For homeowners renovating in Poole, Bournemouth and across Dorset, waterproofing is not an optional finishing detail. It is part of the construction of the room. Getting it right gives you confidence in the bathroom you use every day, whether you are fitting a family bathroom, a compact en-suite or a level-access wet room.
What bathroom waterproofing actually does
Bathroom waterproofing, often called tanking in shower areas and wet rooms, creates a continuous water-resistant barrier beneath tiles and other finishes. It directs moisture away from vulnerable backgrounds, such as plasterboard, timber, screed and floorboards, before it can cause hidden damage.
Tiles are hard-wearing and attractive, but neither tiles nor grout are completely waterproof. Grout is porous to a degree, and movement at corners, around pipe penetrations and where walls meet floors can eventually open small paths for water. Silicone sealant is essential at joints, but it is a maintenance item rather than the main waterproofing strategy.
The aim is to protect the structure first, then add the visible finish. When these layers are specified and installed properly, your bathroom is better placed to cope with daily showers, splashes and humidity.
Where waterproofing matters most
The level of protection should reflect how the room will be used. A basin splashback is exposed to occasional moisture, while a shower enclosure receives repeated, concentrated water. A wet room floor deals with water across a much wider area and needs a more comprehensive system.
Shower walls and shower floors
Shower walls should be treated as high-risk areas, particularly where a powerful shower is used every day. The waterproof layer needs to continue across the wall surface, into internal corners and around valves, shower arms and niches. On a tiled shower floor, it should connect correctly with the drain detail so water cannot bypass the system.
A shower tray changes the approach slightly, but not the need for care. The tray must be properly supported, levelled and sealed to the wall. The surrounding wall waterproofing should be compatible with the tray and tiling arrangement, with no weak point at the junction.
Wet rooms
A wet room is not simply a bathroom without a shower tray. It relies on planned falls towards the drain, a suitable subfloor, an appropriate drain assembly and a fully integrated waterproofing layer across the relevant floor and wall areas.
This can be an excellent choice for accessibility, clean lines and easy cleaning, but it leaves less room for shortcuts. In older Dorset homes with suspended timber floors, the construction often needs particular attention. Movement, floor deflection and drainage falls all need resolving before tiling begins.
Baths, basins and quieter areas
Not every wall in a bathroom needs the same treatment as a shower enclosure. However, walls around baths with showers, bath screens and frequently used basins deserve proper protection. The right specification depends on the layout, ventilation, construction of the room and how the household uses it.
A sensible design balances protection with proportion. Over-specifying every surface can add cost without practical benefit, while under-specifying a shower or wet room can prove far more expensive later.
The layers behind a dependable tiled bathroom
A lasting bathroom is built in the right sequence. The finished tile is only one part of a system, and the materials beneath it must work together.
First comes a sound, stable background. This may be suitable tile backer board, a properly prepared solid wall, or an appropriate floor preparation system. Ordinary plasterboard is not a suitable choice for every wet area, particularly where it will receive direct shower spray. Timber floors may need strengthening or overlaying to create a rigid surface that limits movement.
Next comes the waterproofing system. Depending on the application, this may include a liquid membrane, sheet membrane, sealing tape for junctions and pre-formed collars for pipe openings. The manufacturer’s instructions matter here: mixing products from unrelated systems or applying them at the wrong thickness can compromise the result.
Only once the background and tanking are complete should adhesive, tiles, grout and flexible sealant be applied. A competent installer plans these stages together, rather than treating waterproofing as an afterthought once the tiles have been chosen.
A guide to bathroom waterproofing before work begins
The best waterproofing decisions are made during design, when pipework, furniture, lighting and ventilation can still be coordinated. Moving a shower valve after tanking, for example, means disturbing the protective layer and rebuilding it correctly.
Start by deciding how the bathroom needs to work. Will it be a busy family room with consecutive showers? Is a walk-in shower preferred? Are you hoping to age in place with level access? Will fitted bathroom furniture sit close to a shower zone? These choices affect where water will travel and how much protection the room needs.
Then assess the existing building. A survey should identify the floor construction, condition of walls, location of waste pipes and any signs of previous moisture damage. Old flooring, soft boards, mould staining or failed sealant should be investigated rather than covered over. Waterproofing cannot compensate for a leaking pipe or an unstable floor.
Ventilation also deserves early attention. An effective extractor fan, correctly sized and installed, helps control humidity after bathing. It does not replace tanking, but it reduces condensation and supports the long-term condition of painted surfaces, cabinetry and fabrics elsewhere in the room.
Details that prevent expensive problems
Most failures occur at transitions, not in the middle of a tiled wall. Corners, floor-to-wall joints, shower niches, pipe penetrations, drains and changes between materials require particular care because buildings move and water follows the easiest route.
A recessed shower niche, for example, must be fully waterproofed on its base, sides and corners before tiling. It should also be formed with a slight fall towards the room so water does not sit against the back edge. Similarly, pipe openings need purpose-made seals or carefully detailed membrane work, not a hopeful ring of silicone.
Movement joints should be allowed for where needed, especially on larger tiled areas, over heated floors or where different building materials meet. Flexible sealant at changes of plane is usually more appropriate than grout, because it can accommodate small amounts of movement.
Drainage deserves the same discipline. In a wet room, the floor must fall consistently to the drain without low spots where water can pool. In a shower enclosure, the waste must be accessible enough to maintain, and the tray must not flex under load. A well-made room should deal with water calmly rather than relying on constant wiping and careful use.
Choosing materials and trades with confidence
There is no single best waterproofing product for every bathroom. Liquid-applied systems can work very well on suitable prepared backgrounds and around awkward shapes. Sheet systems offer controlled thickness and can be particularly useful where a fast, integrated solution is needed. The right choice depends on the substrate, shower type, tile format, drainage arrangement and the installer’s familiarity with the system.
What matters is compatibility and workmanship. Ask who is responsible for the waterproofing stage, which system will be used, how corners and penetrations will be sealed, and whether the work will be checked before tiling covers it. Clear responsibility is especially valuable where several trades are involved.
For a full bathroom renovation, coordinated project management can prevent costly gaps between plumbing, building, electrical, waterproofing and tiling work. At Hale & Murray, bathroom projects are planned around the finished room as well as the unseen construction, bringing the practical details into the design conversation from the outset.
Looking after a waterproofed bathroom
A properly tanked bathroom still needs routine care. Keep grout and sealant in good condition, clean extraction fan covers, deal with dripping taps promptly and avoid drilling into shower walls without understanding what lies beneath the tile. If sealant begins to lift, discolour heavily or crack, replace it before water reaches the joint behind it.
Watch for warning signs such as loose tiles, persistent mildew, swollen skirting or flooring outside the bathroom, staining on a ceiling below, or a musty smell that does not clear with ventilation. These do not always mean the waterproofing has failed, but they warrant investigation before a minor repair becomes a larger rebuild.
The most reassuring bathroom is one that looks considered on the surface and has been built with equal care behind the tiles. Before choosing finishes, take time to discuss the structure, water exposure and installation sequence with an experienced local bathroom specialist. That conversation is where lasting quality begins.